Pages

Friday, April 6, 2012

Wow this Blog has been Neglected!

Howdy Friends!  I have not been too great at posting here lately so I have a ton of cards to show you!  I hope you enjoy these pictures.  Have a very happy Easter!  Peace.
Randomness -  inch by inch.

Love Love Love gears and clocks and such!

Don't look now but there is a bird on your head.


What does it mean?  I don't know but I like it!

I was feeling quite circular that day...

Here's where I learned how to weld letters together and cut them with my Cricut.

Fun with heavy-duty household aluminum foil and alcohol inks.

Perfect Pearls Interference colors and a Pearl misted background.

I really love the classic simplicity here.

Monday, November 21, 2011

November Birthdays!

I was unsure about this Tim Holtz butterfly die ("Fanciful Flight") at first, but now I LOVE IT!  Also, his "Tattered Banners" really rock!  After this card was all put together, I misted it with turquoise Perfect Pearls mist.
I had so much fun making this card for my nephew.  It features the Tim Holtz' "Regal Crest" die and the "Bricked" embossing folder.  The brick background really adds to the theme (whatever the theme is, that is!)
I don't use my Copic markers nearly as much as I should.  Since Copics are so easy to use, I almost feel like a real artist when I use them.  Hee hee!
I love the way this card turned out.  Again, this is classic Tim Holtz goodness through and through.  It features Timmy's "Old Jalopy" die.  After assembling the car, I covered it in Clear Rock Candy crackle paint.  Pure awesomeness!  I even used some of that plastic packaging stuff for the car windows.  You probably can't see that in the photo, so just trust me on this, 'k?
What?  More Tim Holtz?  Yeah, that guy just makes me smile.  For this card, I used the "Weathered Clock" die with some crackle paint.
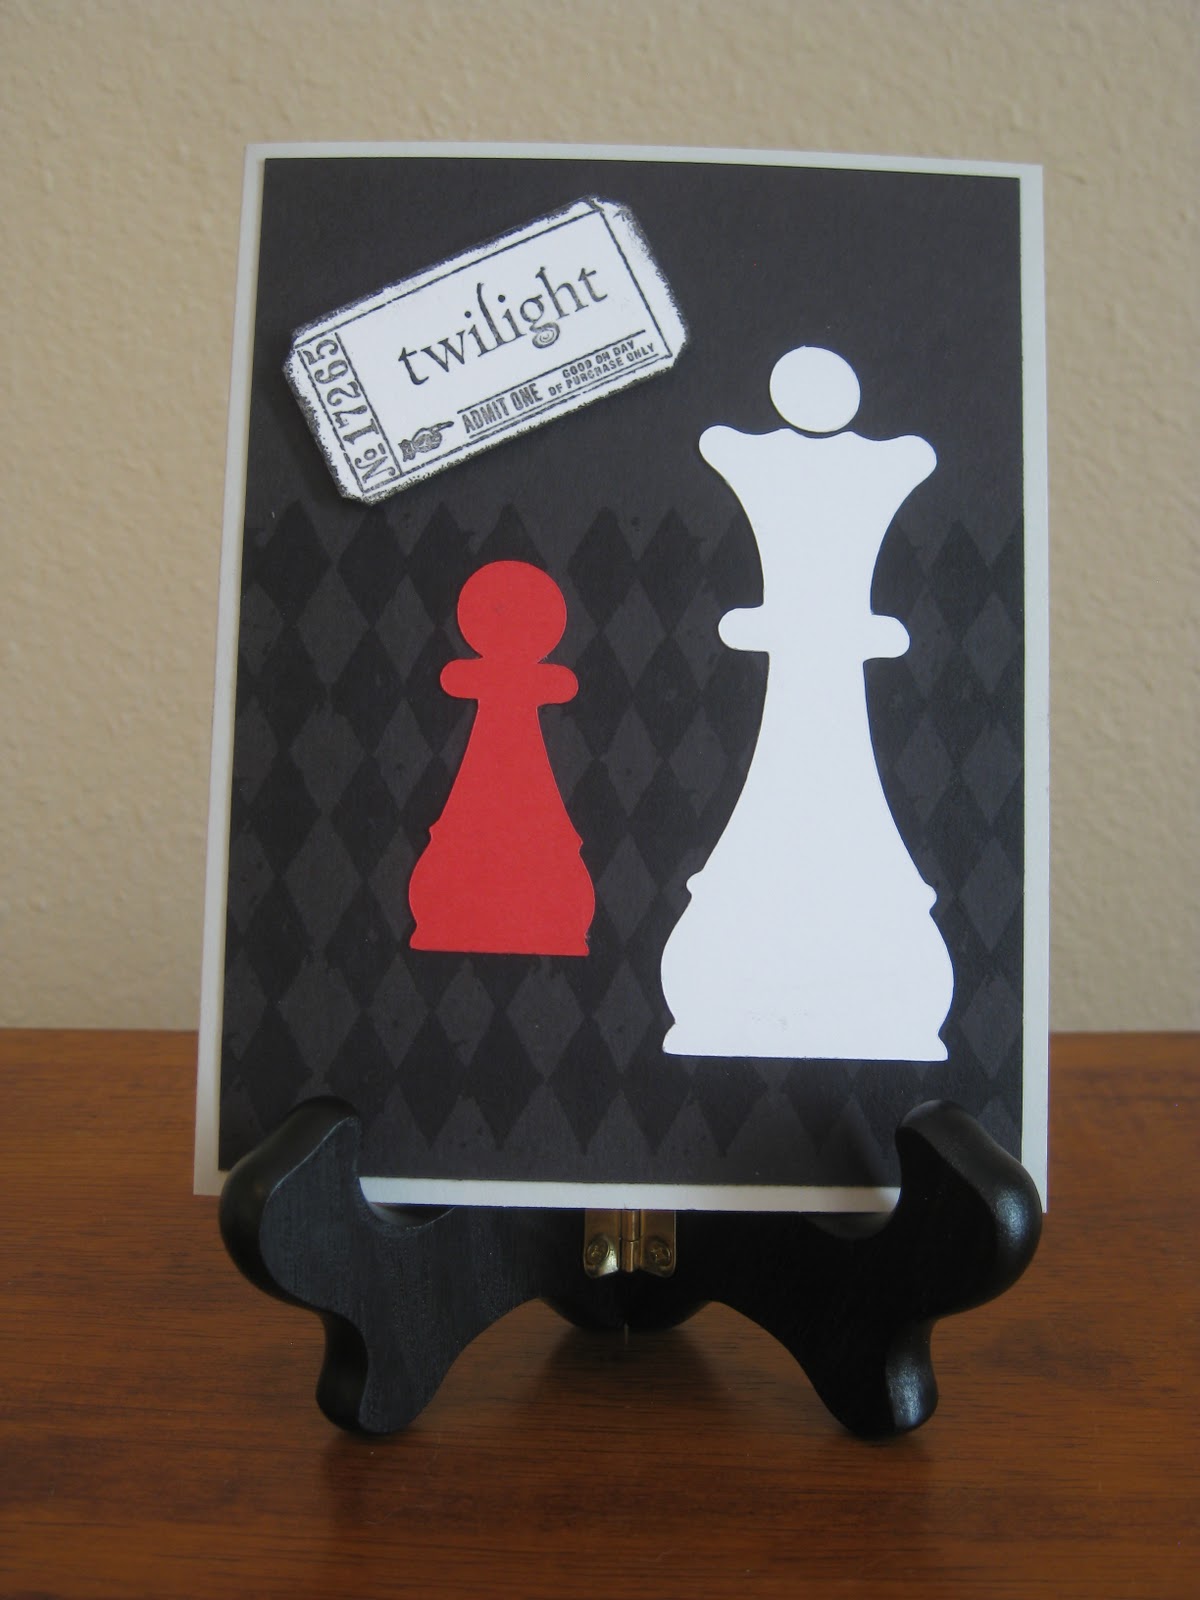
Any other Twi-Hards out there?  Wasn't Breaking Dawn Part 1 awesome?  After seeing it last weekend at midnight with my Super-Twi-Hard sister-in-law, I made this card for her.  I found the SVG chess pieces online here (http://mytimetocraft.com/2010/06/02/chess-pieces-svg/) and downloaded them and cut them with my Cricut Expression.  (In case you are curious, I am TEAM EDWARD, but really, could you go wrong either way?  I don't think so!)  ;-)

Monday, August 22, 2011

Tag Card Times Two

Howdy y'all.  It sure is hot out this summer.  I am patiently waiting for the fall temps to kick in, but in the meantime, I guess I'll stay inside and make some cards.  Here are two cards I made for two of my nieces' birthdays.  I really love the way these both turned out!  What do y'all think?  Peace.

Friday, May 27, 2011

Mother's Day

Here is the Mother's Day card I made for my amazing Mom who is 94 years wise!  Yes, that is a picture of my Mom and me!  The flowers were colored by inking the tag with appropriate colors keeping in mind how I was going to position the flower stamp.  Then I stamped the flowers with Versamark ink and embossed the stamped images with clear embossing powder.  Once the embossing was done, I went over the entire tag with the darker ink and the embossing acted as a resist to allow the first layer of color to pop out.  Pretty cool technique!  Thanks to Jane and T!m for the inspiration.  Peace.

Wednesday, May 25, 2011

Celtic Cross

Hi everyone!  Here is a card I made for our nephew's Confirmation.  I found and downloaded the free svg file of the cross here (http://www.svgcuts.com/blog/2010/11/01/free-svg-file-sure-cuts-a-lot-11-01-10-celtic-cross/).  I used my Cricut Expression and the "Sure Cuts A Lot" program to cut it out.  This was a manual-intensive card, because of all the tiny little pieces that make up the cross.  Thank goodness for my Xyron!  Peace.

Wednesday, April 20, 2011

Foil Tag Technique

Howdy bloggers!  Well, Fiesta is over in San Antonio.  Maybe you've heard the saying, "Ain't Gonna Resta 'til After Fiesta."  I took that a little too literally this year!  We worked or attended too many events.  I, for one, am glad it's over!  I think next year we will take it a little easier.  OK, enough about that.  Today I am showing you a tag card using heavy duty aluminum foil.  I started with one of my homemade tags and adhered the foil to it.  I used liquid Scotch Quick Dry adhesive, but since then I have bought some spray adhesive for the next time.  I think that may be a better choice.  I trimmed the foil to the size of the tag.  Then I ran it through my Sizzix Big Kick with the Tim Holtz "Patchwork" embossing folder.  After that, I pounced on it with some alcohol inks.  To make sure the foil didn't separate from the tag, I alcohol-inked some aluminum tape and applied it to the edges of the tag.  The stamped butterflies along the right side are painted with Perfect Pearls powder mixed with water.  I colored the large butterfly with Copic markers.  I should credit my teacher Inky Jane for the design.  I shamelessly stole it from a card we made in class recently.  Thanks, Jane!!  Peace.

Thursday, March 24, 2011

How to Make Inexpensive Tags for your Tim Holtz-i-ness

Greetings!  Today I want to share with you how I made some tags SOOO much cheaper than buying them ready-made.  I bought some manila folders and cut them myself.  I used "heavy weight 3-tab file folders" that I found at Staples.  I should stress that the heavy weight variety makes all the difference here.  I should be able to cut at least 10 #5 tags from one folder.  I paid $2.00 for a pack of 12 folders, so I can make at least 120 tags (4 3/4 x 2 3/8 inches) from this pack.  That comes out to less than 2 cents per tag, instead of 20 cents per tag.  Wowza!  To make the tags, I just used my paper trimmer and then snipped off the corners and punched the hole with my hole punch.  Super easy.  If you want the hole reinforcers, you can find them at Target, or Tim Holtz has his own super-cute ones (of course!).  Peace.